
Weekend Project : DIY Bathtub Tray

What's better than taking a nice long bath? ( assuming you have time to take a bath lol) being able to catch up on your favorite show, e-book, or the countless emails and blog posts you may have missed, while taking a nice long bath. Over the weekend while catching up on the latest and greatest in Pinterest, I came across this bathtub tray with a built in iPad stand on Etsy but I wasn't really feeling the $185 price tag. So of course me being the avid DIY-er that I am, I decided to take a stab at making my own. I thought how hard could it be ?
My first obstacle came, when I took a trip took a trip to the local lumber yard ( yes, an actual lumber yard) to buy the wood.

Anawalt Lumber Yard
I had already measured my tub and knew exactly what I needed but couldn't quite figure out how I was going to make the groove in the wood to hold my iPad. When I asked the lumber "expert" what I would need to do this, he responded, " Oh you just need a miter saw". As if I know anything about using a saw. I then told him that I didn't own a miter saw and even if I rented one, I wouldn't know how to use it. So I did what any determined female tool novice would do.. I pulled out the damsel in distress card. (Sigh)
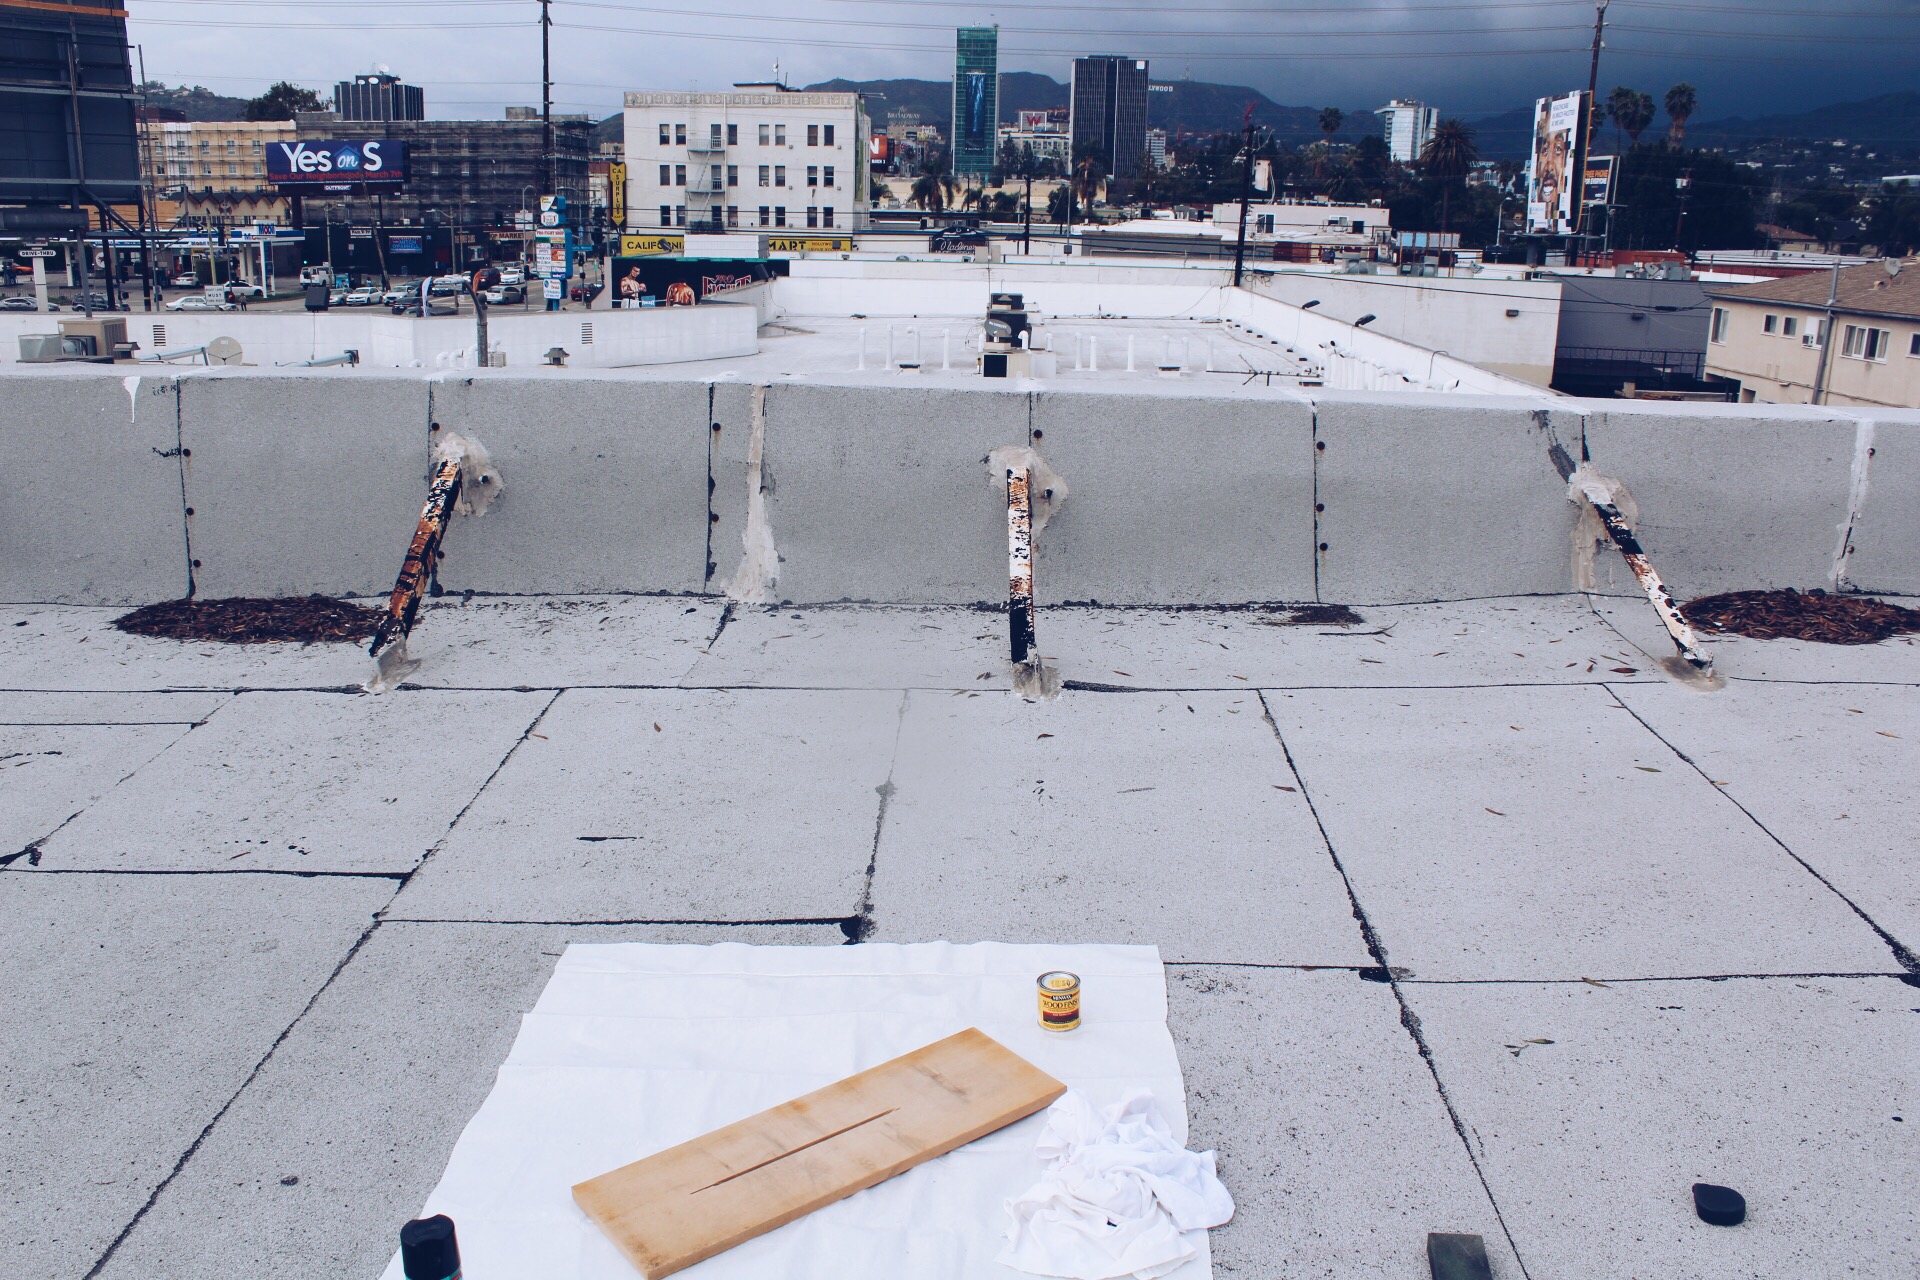
After explaining to the.. lumber cutter guy ( not quite sure of his official title) that I really needed the groove cut in the wood or else the project just wouldn't be complete and of course saying it in the most distraught voice I could come up with, he obliged and not only did he do one board, he made an extra one for me as well. After getting my wood I went inside and bought some Minwax stain, rags, and a polyurethane sealing spray to make it water resistant.
To make it easy for you, here's what you'll need :
- 1 - 1 in x 10 in piece of wood (measure to the width of your tub)
- 1 can of Wood Stain in the color of your choosing
- 2 - 1 in x 1 in pieces of wood cut shorter than the width of your board ( used to keep the tray from moving around in the tub)
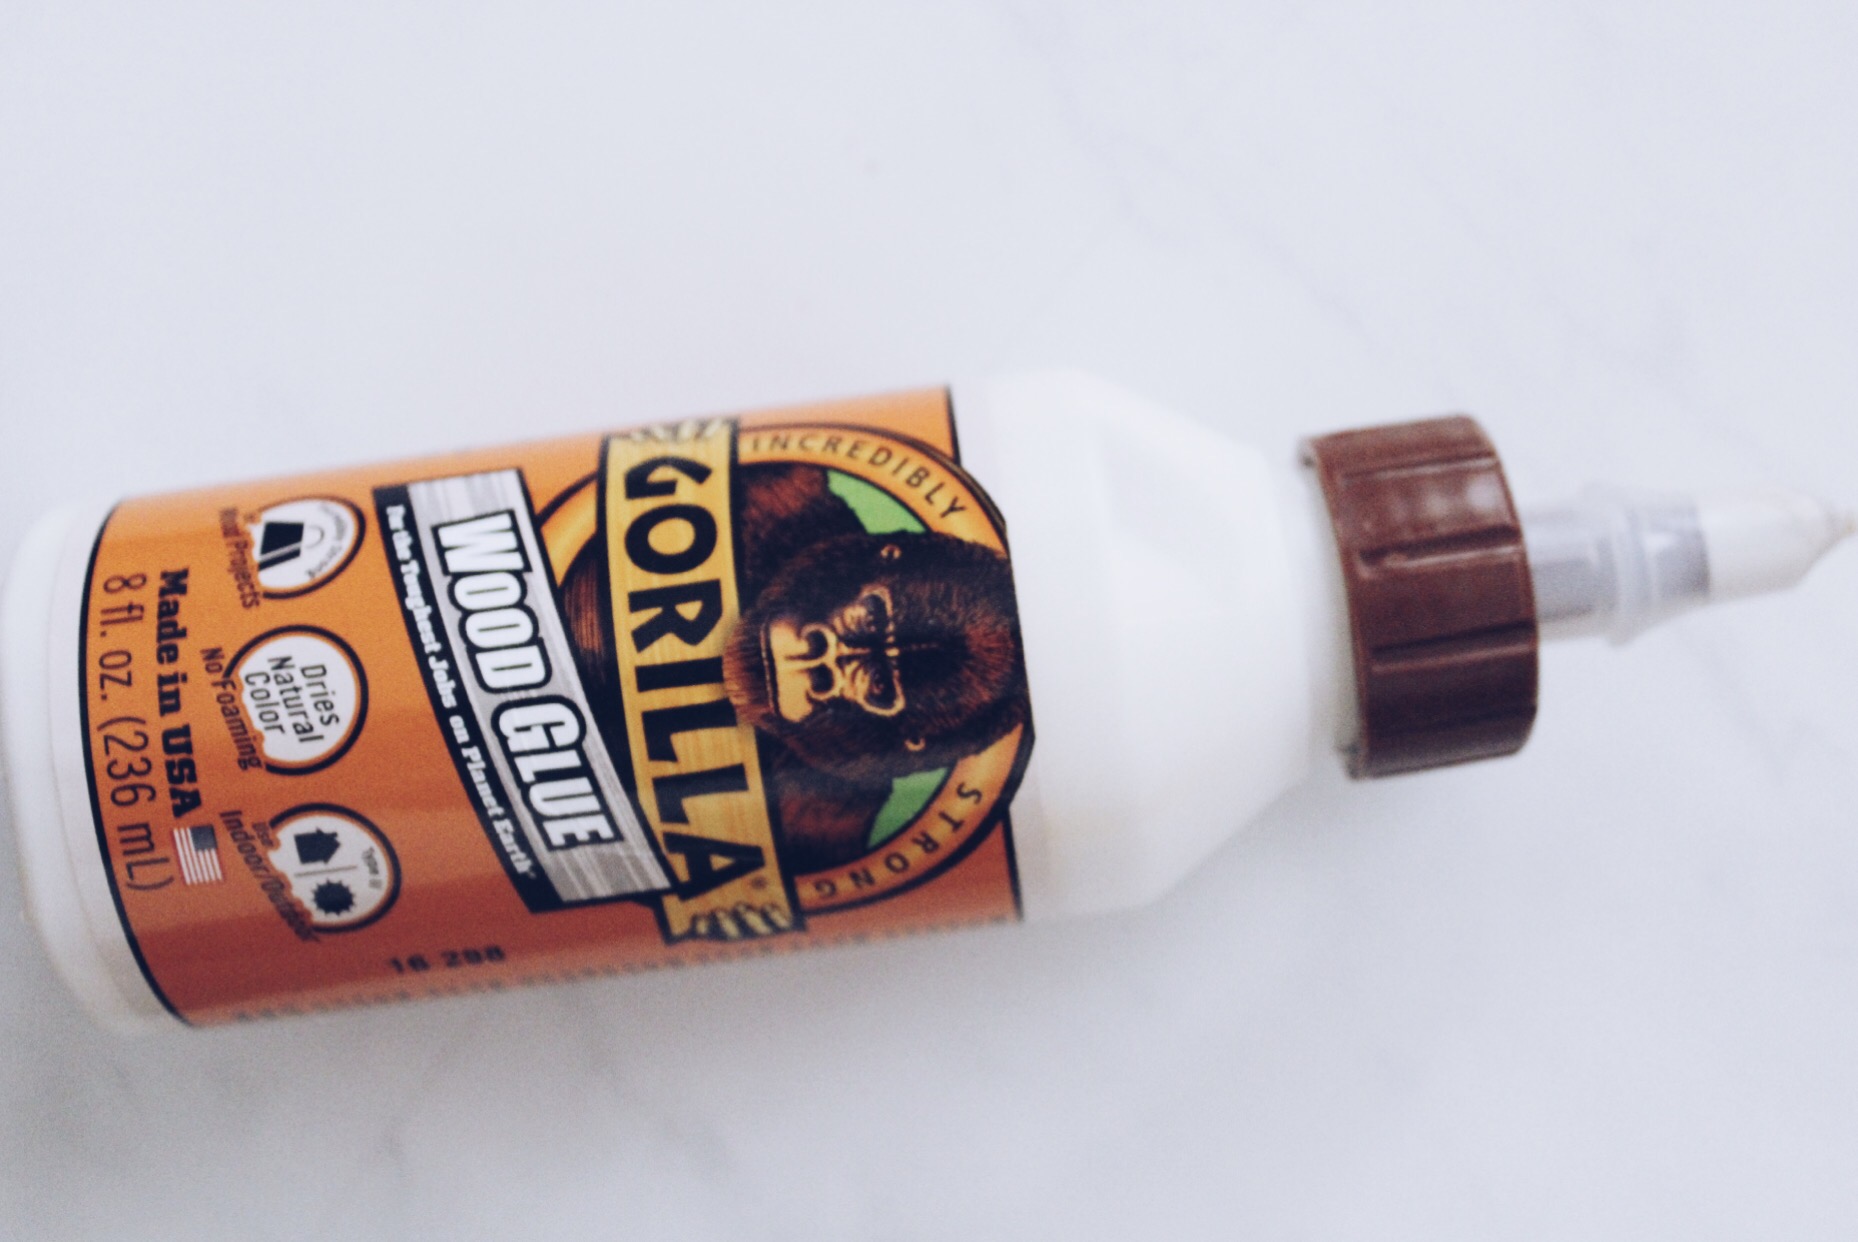
- Wood glue ( I used Gorilla Glue )
- 4 Wood screws
- A drill
- 1 can of polyurethane spray
- Stain rags

The Process :
- Measure the width of your tub
- Cut wood to width of tub
- Use a miter saw to cut the groove for iPad stand in the middle of your wood if you're up for the task. If you're a little challenged, in the tool department, like me, ask the person at the hardware store to make the cut for you.
- Cut two smaller 1in x 1in pieces of wood to use as support to stabilize your bath tray.
- Use a piece of sandpaper to smooth the surface and edges of your wood.
- Stain the wood with the color of your choosing. Make sure you let your stain cure for at least 5-15 minutes in between coats and wipe off excess stain.
- Allow stain to dry for a couple hours.
- After the stain has dried, attach the support legs to your board with wood glue and for extra support drill the screws into each end of the support legs. I'm not going to lie, I had a little difficulty getting my screws to go all the way through, so I just went with the glue. Trust me, if you use gorilla glue, it will not budge!
- After attaching the legs and allowing the stain to completely dry, apply the polyurethane, according to the directions on the can.
- Once the polyurethane has dried, feel free to treat yourself to a nice relaxing bath!
- After attaching the legs and allowing the stain to completely dry, apply the polyurethane, according to the directions on the can.
- Once the polyurethane has dried, feel free to treat yourself to a nice relaxing bath!


